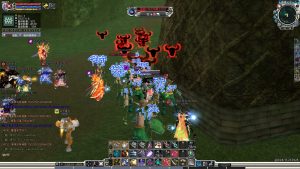
Kill Monsters to get Experience !
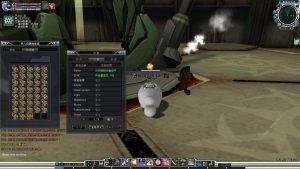
Mining To Get Ores +4 !
Mining for Resources !
Contribution and PVP Points!
How Item Combination Works!
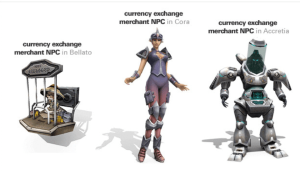
Tax Rate and the Currency Rates!
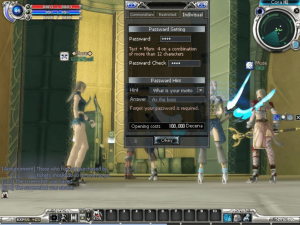
How to Open a Storage!
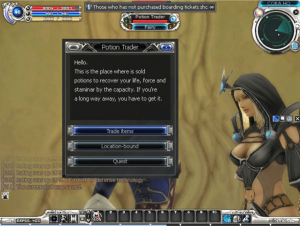
How to Trade Items with NPC!
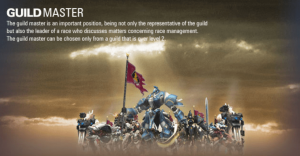
How to Guild System Works!
Forming or Join a Party!
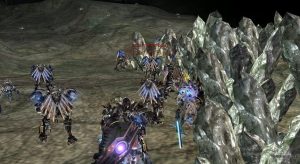
Massive Race vs Race Three Times a Day!
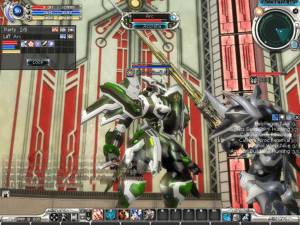
How to Attack Monsters PVE, and PVP !
Battle Dungeon System!
Archon and Councils Voting System