Skill / Force Buffs and Debuffs!
How to Walking and Running!
Point of View, Changing the Camera Angle!
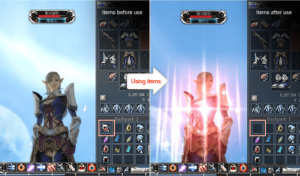
Item Belt, How to Wear or Use Items!
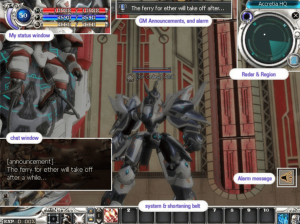
User Interface, Radar, Mouse Pointer, Settings!
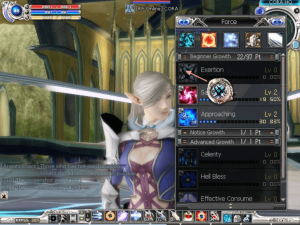
What are Force, and How to Use it!
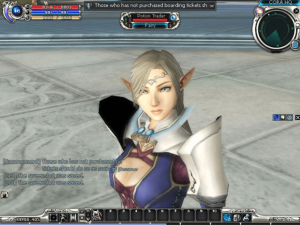
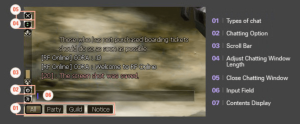
How to Chat in the Game and Add Friend
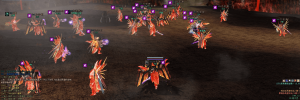
Earning Experience Points, PT Points!
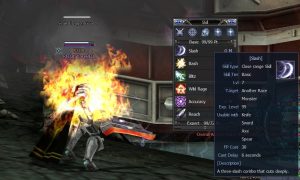
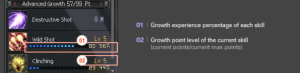
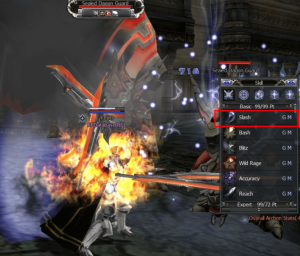
Using Skill or Force and How to Increase Skill levels!
Automatic Potion, Automatic Action, and Automatic Chat!
How Defense Gauge Works